Reminder: Client SMTP Submissions with Basic Auth in Exchange Online to Be Deprecated in September 2025
In April 2024, Microsoft dropped a big announcement: Client SMTP submissions using Basic authentication in Exchange Online will be deprecated by September 2025. If your apps, devices, or email clients rely on this method to send emails, it’s time to start planning a switch. Basic auth—where credentials are sent in plain text—is a security risk, and Microsoft is pushing for safer alternatives like OAuth or specialized solutions.
For sending emails to internal recipients only, Microsoft strongly recommends High Volume Email (HVE) for Microsoft 365. In this post, I’ll break down what HVE is, why it’s a solid choice, and how to set it up. Plus, I’ll share some prerequisites to watch out for. (P.S. I’ll be writing a separate post soon about Azure Communication Services for external recipients—stay tuned!)
What Is High Volume Email (HVE)?
High Volume Email (HVE) is a Microsoft 365 feature built to handle big batches of emails, especially for internal folks in your organization. Think automated notifications, reports, or alerts from apps and devices—HVE’s got you covered. It uses SMTP AUTH (yes, still Basic auth , but Microsoft have OAuth support aswell) and slots right into Microsoft 365’s secure ecosystem.
With Client SMTP submissions going away, HVE steps up as a lifesaver for internal email traffic. It’s efficient, avoids throttling headaches, and keeps things compliant—all while keeping your IT team sane.
- If
Security Defaults is enabled, all basic authentication including SMTP is disabled, making High Volume Email (HVE) non-functional.- HVE accounts can operate even if
SMTPClientAuthenticationDisabled is set to True within TransportConfig, due to the use of the custom endpoint.- To avoid any impact from authentication policies, it's important for customers to ensure
AllowBasicAuthSmtp is enabled in their organization for the HVE account. Custom authentication policies can be applied to the HVE accounts as neededPrerequisites and Things to Keep in Mind
Before you dive in, here are some key points to check:
- Microsoft 365 Subscription: You need an active, non-trial Microsoft 365 tenant.
- Conditional Access: Got policies in place? Make sure they don’t lock out the HVE account or the IPs sending emails.
- Account Limits: You’re capped at 20 HVE accounts per tenant for now.
- Internal Focus: HVE is for internal recipients. It can send up to 2,000 external emails daily, but for more, look to Azure Communication Services.
- Preview Status: HVE is in preview, so expect possible changes. Keep an eye on Microsoft’s updates!
Setting Up High Volume Email: A Quick Guide
Ready to get HVE rolling? Here’s a simple, step-by-step guide to set it up:
1. Create an HVE Account
You’ll need a dedicated account for HVE. You can do this in the Exchange admin center or via PowerShell.
Exchange Admin Center:
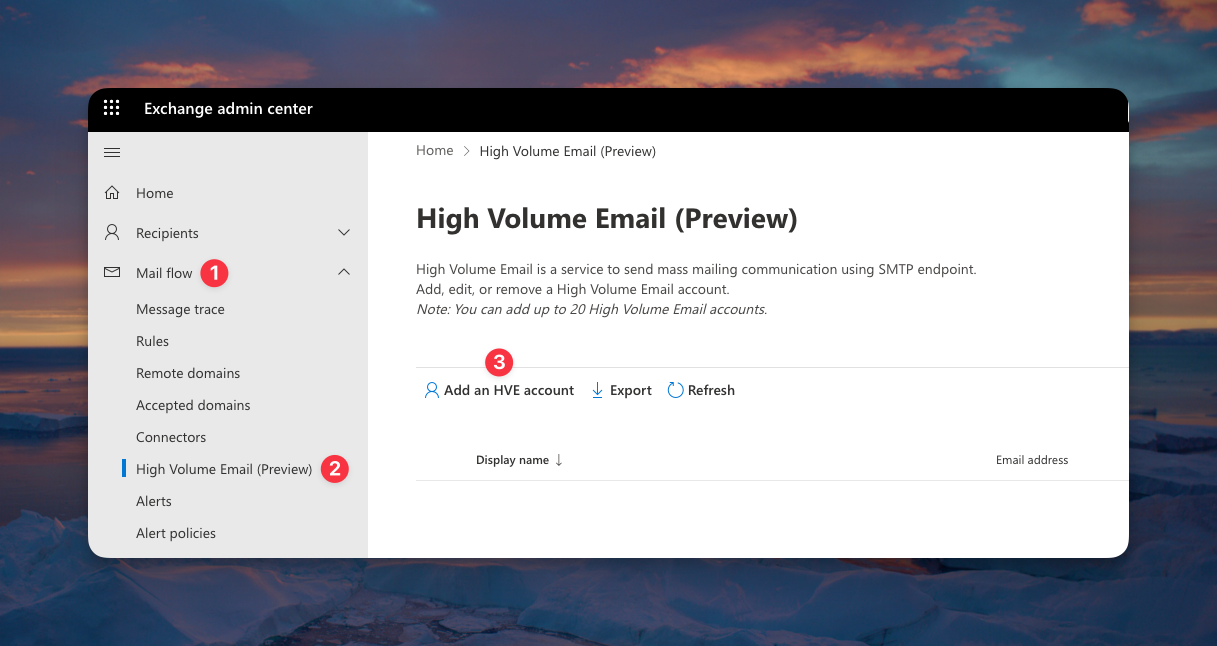
- Navigate to Exchange Online Admin Center
- Head to the Mail flow tab.
- Click High Volume Email (Preview).
- Hit Add HVE account, then fill in the details (name, email address, password).
- Optional: add alias to the account
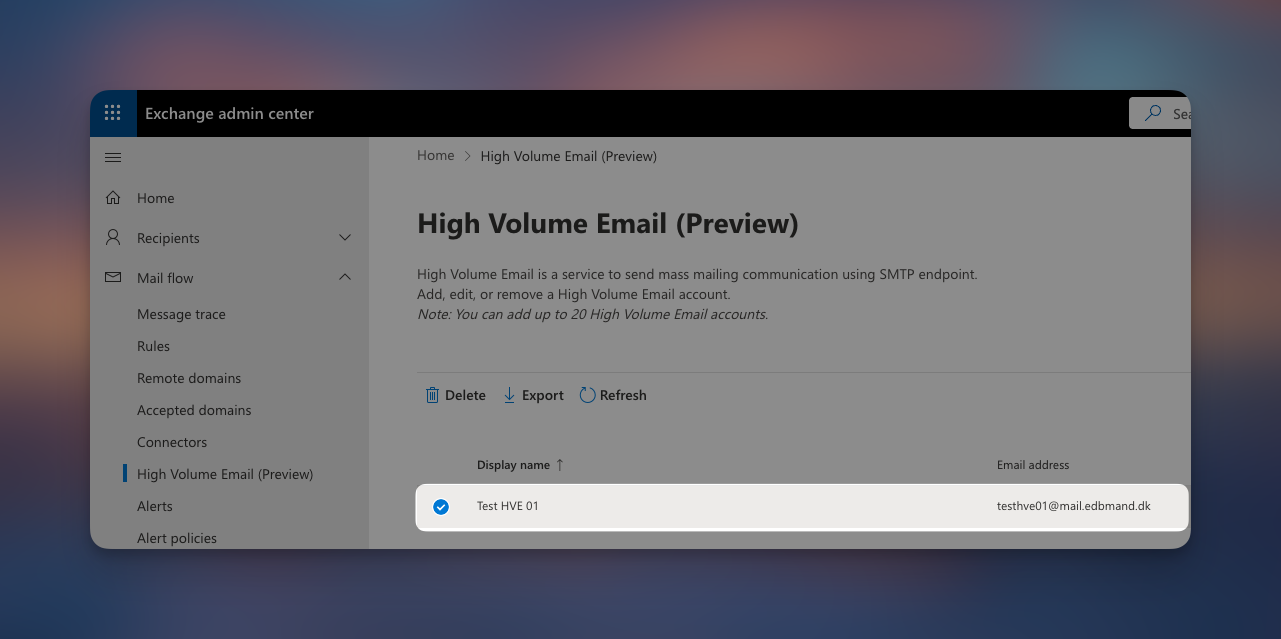
As you can see, we have created a HVE Account! 🙌
PowerShell Option (for the command-line fans):
- In Powershell Connect to Exchange Online
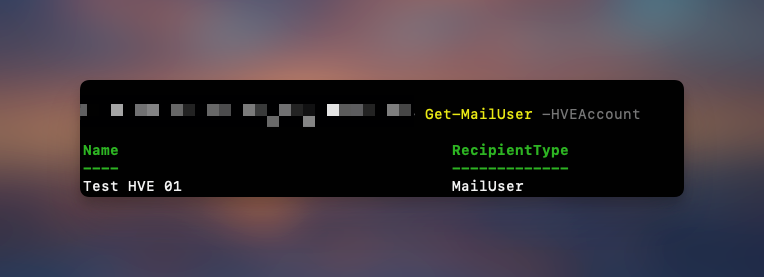
Connect-ExchangeOnlineLet's start by displaying all the current HVE accounts existing in our environment. This should show us the newly created HVE account from the Exchange Admin portal
Get-MailUser -HVEAccount
Now! let's create a new HVE Account with Powershell
$securePassword = Read-Host "Enter password" -AsSecureString

New-MailUser -HVEAccount -Name "Test HVE 02" -Password $securePassword -PrimarySmtpAddress "testhve02@domain.com"
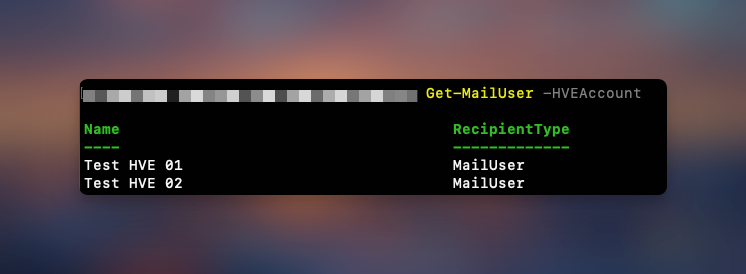
Done deal! let's display all HVE accounts again
Get-MailUser -HVEAccount
2. Send a Test Email
It's a good idea to test HVE accounts before configuring apps and devices. Here’s a PowerShell example straight from Microsoft’s playbook.
#HVE user credentials
$cred = Get-Credential

Send-MailMessage -From HVEAccount@domain.com -To InternalAccount@domain.com -Subject "HVE Test" -Body "Hey, it works!" -SmtpServer smtp-hve.office365.com -Port 587 -UseSsl -Credential $cred
If all goes well, you’ll see that email land in your inbox—success!🥳
There might be some situation where you'll see the common error:
- 535 5.7.3 Authentication unsuccessful
- 535 5.7.139 Authentication unsuccessful, the organization configuration doesn't allow this authentication request.
This can be avoided by creating a Authentication Policy as mentioned earlier, it only takes a couple lines in Powershell to achieve this.
#Create the Policy
New-AuthenticationPolicy -Name "Allow Basic Auth"

#Allows BasicAuthSMTP
Set-AuthenticationPolicy -Identity "Allow Basic Auth" -AllowBasicAuthSmtp:$true

#assigns the Policy to HVE Account
Set-User -Identity "HVEAccount@domain.com" -AuthenticationPolicy "Allow Basic Auth"

#Forces the assignment as it normally takes 30 minuttes
Set-User -Identity "HVEAccount@domain.com" -STSRefreshTokensValidFrom $([System.DateTime]::UtcNow)
3. Configure Your SMTP Settings
Tell your apps or devices to use these settings with the HVE account:
- SMTP Server: smtp-hve.office365.com
- Port: 587
- Authentication: Basic auth (use the HVE account’s credentials)
- TLS: Required (security first!)
Monitoring and Reporting for High Volume Email (HVE)
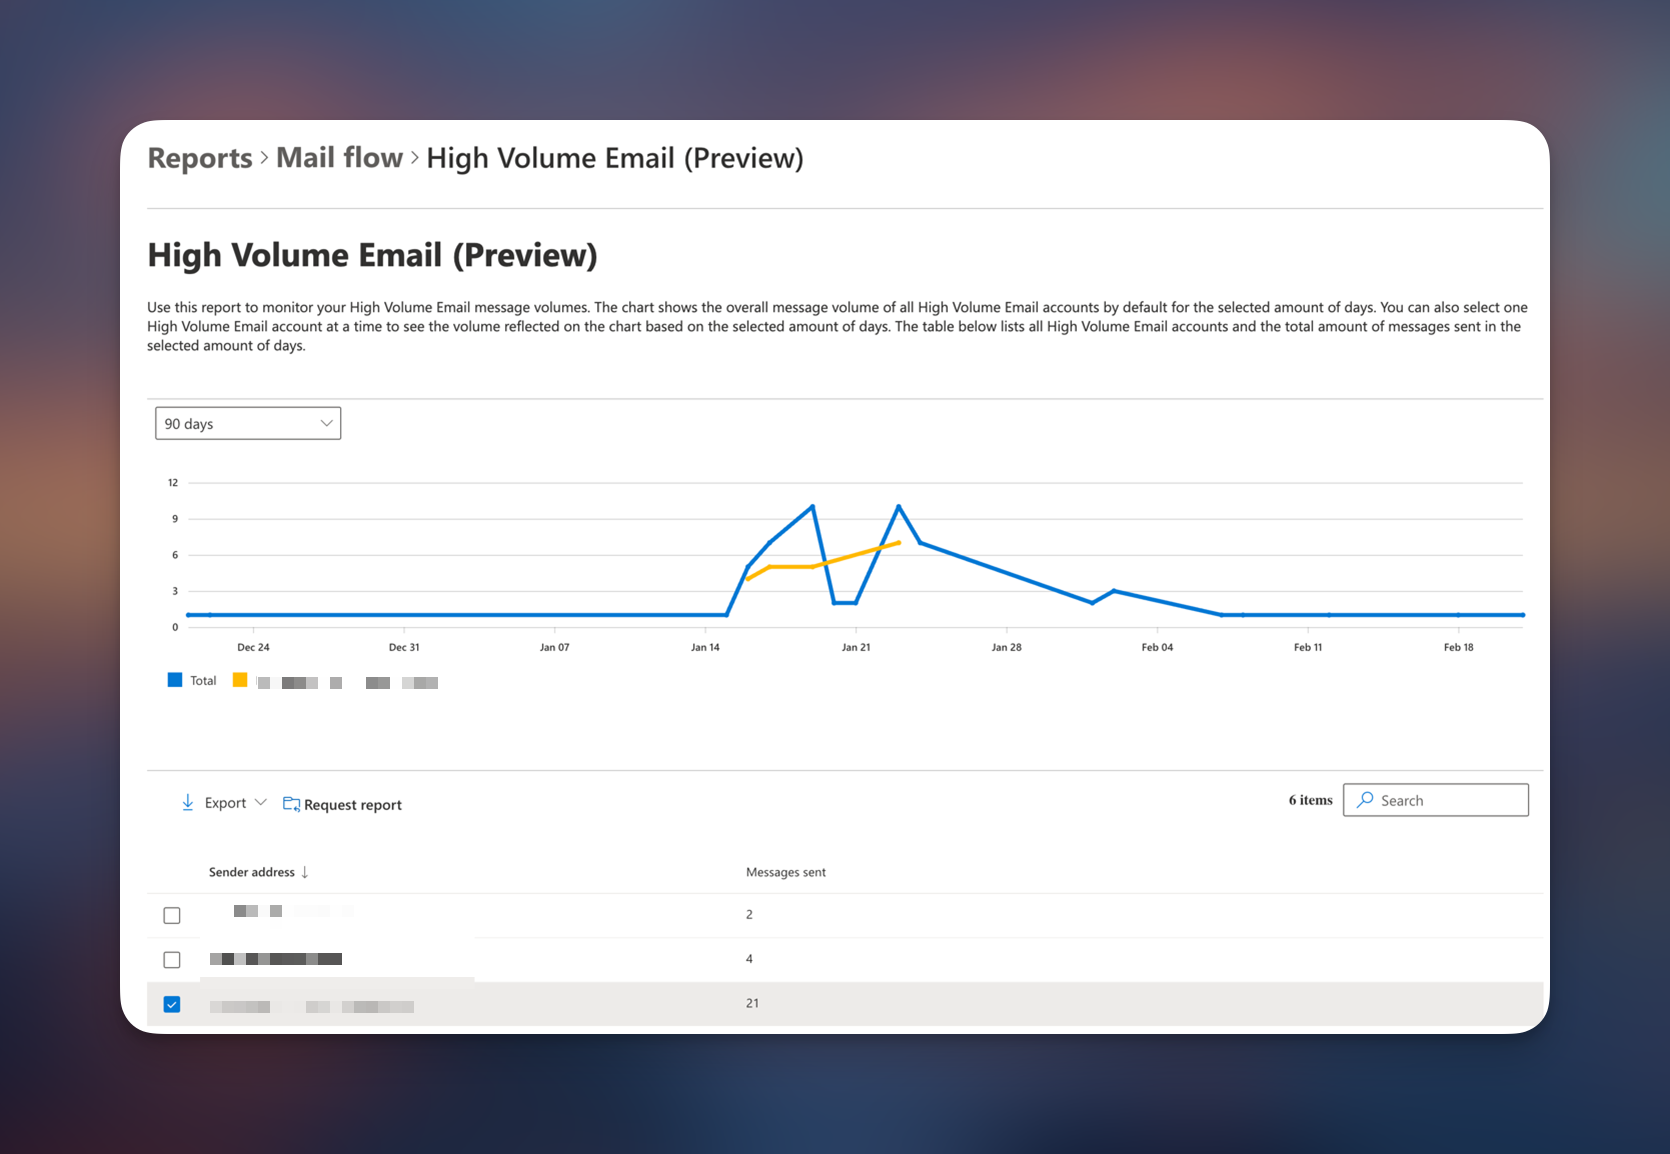
When you’re using High Volume Email (HVE) to send large quantities of internal emails, understanding how it’s performing is essential. Microsoft offers built-in reporting tools that let you monitor your HVE activity—all in a straightforward, practical way.
Where to Find HVE Reports
You can easily access HVE reporting through the Exchange admin center:
- Navigate to the Reports tab.
- Select Mail flow.
- Select High Volume Email (Preview)
- Choose the HVE account you want to review.
- Export detailed report if needed
Wrapping Up
With Client SMTP submissions using Basic auth heading out the door in September 2025, High Volume Email (HVE) is Microsoft’s go-to recommendation for internal email needs in Microsoft 365. It’s secure(ish), efficient, and easy to set up—perfect for keeping your internal comms humming.
Give it a spin with the steps above, and double-check those prerequisites. Next up, I’ll dive into Azure Communication Services for external emailing—watch this space!
For more details, check out Microsoft’s official docs:


